Dispatch: From QuickBooks
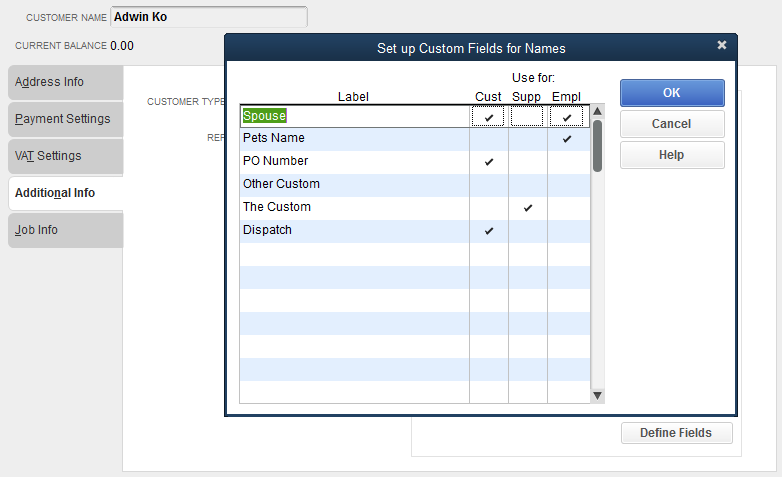
- Add a custom field to QuickBooks that can be used to mark the transaction as ready to be dispatched. In this case the field is called "Dispatch":
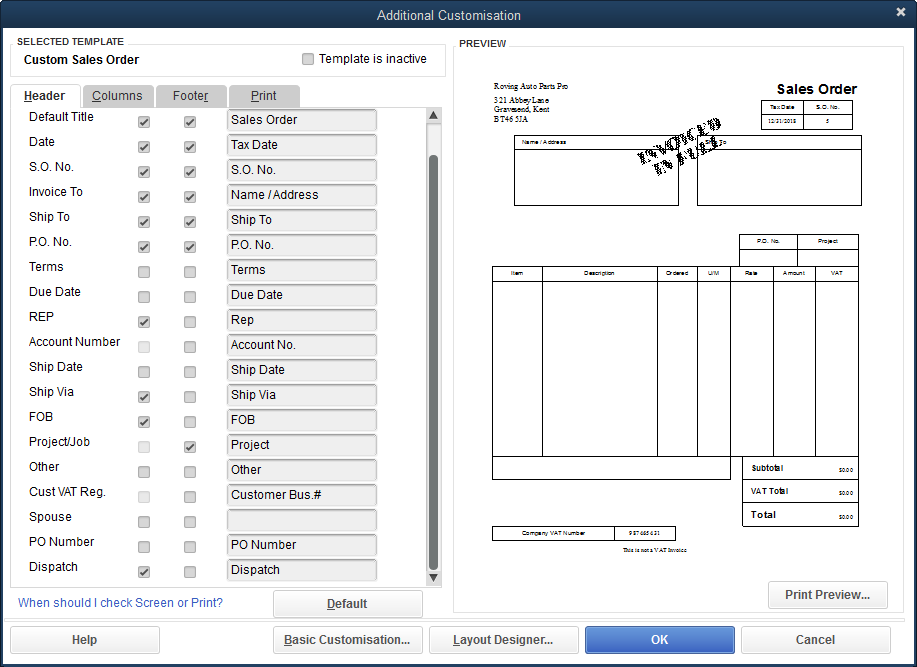
- Add the new custom field to the Data Layout of the transaction. Open the transaction and click Customize Data Layout:

Check off the new field in the list of Header fields:
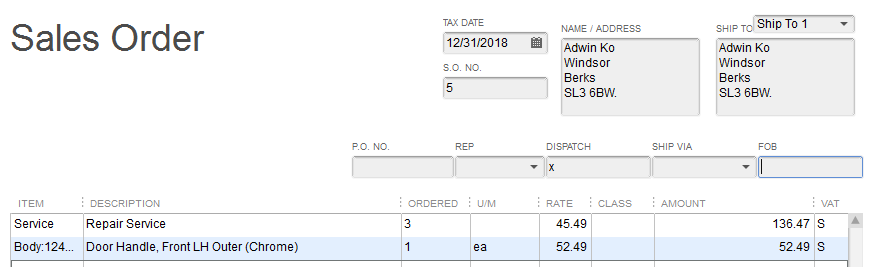
- The new field should now be visible in the transaction. Enter a value (in this example "x") in the new field to mark the transaction as ready to dispatch:
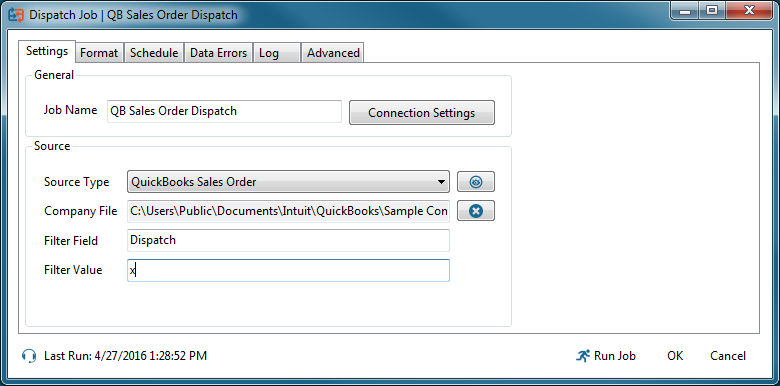
- Add a new Sync & Save Dispatch job. Select QuickBooks Sales Order as the source type and connect to the company file. Enter the name of the custom field ("Dispatch" in this example) as well as the value ("x" in this example) that indicates a transaction is ready to dispatch.
- Switch to the Format tab. Map the QuickBooks fields to the form fields. If a Sales Rep has been assigned, the Main, Mobile and Alternate phone numbers will be available and can be used to map the @mobileNumber field.

- Run the job. If the dispatch is sent successfully, the custom field will be updated in QuickBooks with the status and date of the dispatch. This makes sure the transaction will not be sent again the next time the job is run.

- To use local time values when the custom field is updated, select the option found under Tools | Options | Jobs | Dispatch | Convert dispatch times to local.